 Accessible Shopfront
Your accessibility statement and next steps
By the end of this step: you will have a short, honest accessibility statement on your site and a habit that keeps your site accessible.
The short version
- An accessibility statement is a page that tells visitors how accessible your site is.
- At the least, it gives your commitment, the standard you aim for, and how to contact you.
- Be honest about anything that doesn't work yet.
- Keep checking your site every time you change it.
What a statement is for
An accessibility statement is a short page on your site. It shows customers that you care about access. It also tells them what to expect.[1]
Most of all, it gives people a way to tell you when something doesn't work. That feedback helps you find problems you missed.
Step 1: Include the three must-haves
W3C says every statement should include at least three things.[1]
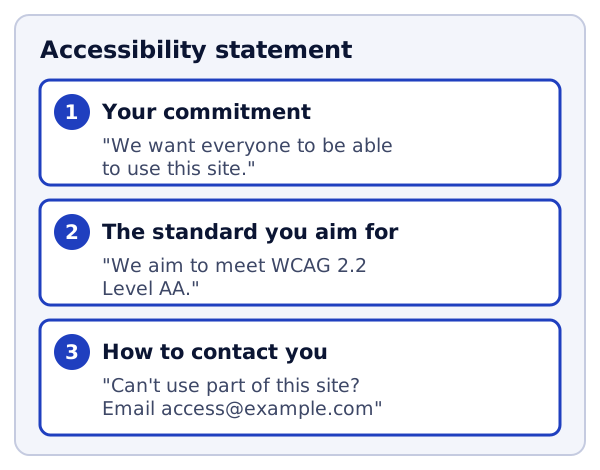
- Your commitment. One or two sentences saying you want everyone to be able to use your site.
- The standard you aim for. For example, "WCAG 2.2 Level AA". You learned about this in Step 2.
- How to contact you. An email address and a phone number work well. Give people more than one way if you can.
Step 2: Be honest about known problems
W3C also suggests listing any problems you know about.[1] This saves people from getting stuck and frustrated.
Use plain words, not WCAG numbers.[1] W3C gives this example. Don't write "WCAG Success Criterion 1.2.2 was not met". Write "videos do not have captions".[1]
If you can, say what people can do instead. For example: "Our older videos do not have captions yet. Email us and we will send you a transcript."
Only claim what is true. If you haven't checked your whole site, say you are still working on it.
Step 3: Put it where people will find it
Make the statement easy to find. W3C suggests linking to it from places like your footer.[1] Call the link the same thing on every page, like "Accessibility".
Step 4: Use W3C's generator
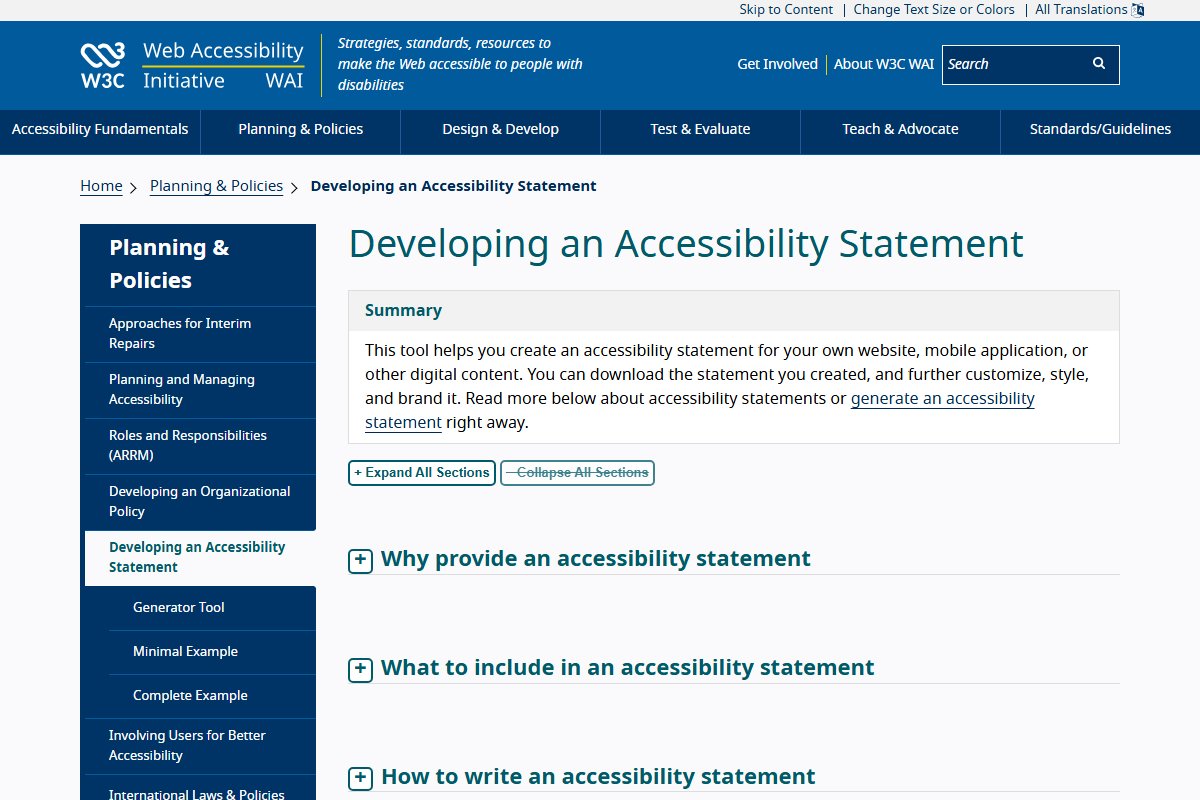
W3C has a tool that helps you write a statement.[1] You fill in a form, and it builds the statement for you. It also links to a short example and a full example.
Write your statement in simple words.[1] Your readers are your customers, not developers or lawyers.
Step 5: Make it a habit
A site is never "done". Every new page, photo and form can add a new problem. W3C's advice is to check early and regularly, and to keep reviewing over time.[2]
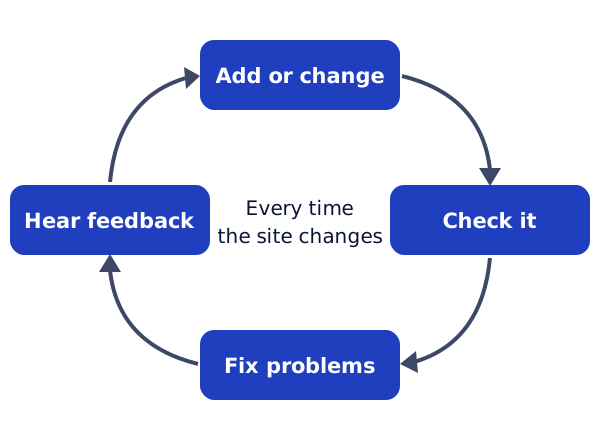
Here are some habits that help:
- Every new image: write its alt text before you publish, as in Step 4.
- Every new page: check its title and headings, as in Step 3.
- Every new form: test it with the keyboard, as in Step 7.
- Every few months: run the routine from Step 9 on your main pages.
W3C also suggests involving people with disability, early and all the way through.[3] When a customer reports a problem, thank them and fix it. Then tell them it is fixed.
Try it on your site
- Write a first draft of your statement, with the three must-haves.
- Add any known problems from your testing in Step 9, in plain words.
- Publish it and link to it from your footer.
- Put a reminder in your calendar to test your main pages again in three months.
Sources
- Developing an Accessibility Statement, W3C Web Accessibility Initiative (accessed 2026-10-18)
- Planning and Managing Web Accessibility, W3C Web Accessibility Initiative (accessed 2026-10-18)
- Involving Users in Web Projects for Better, Easier Accessibility, W3C Web Accessibility Initiative (accessed 2026-10-18)